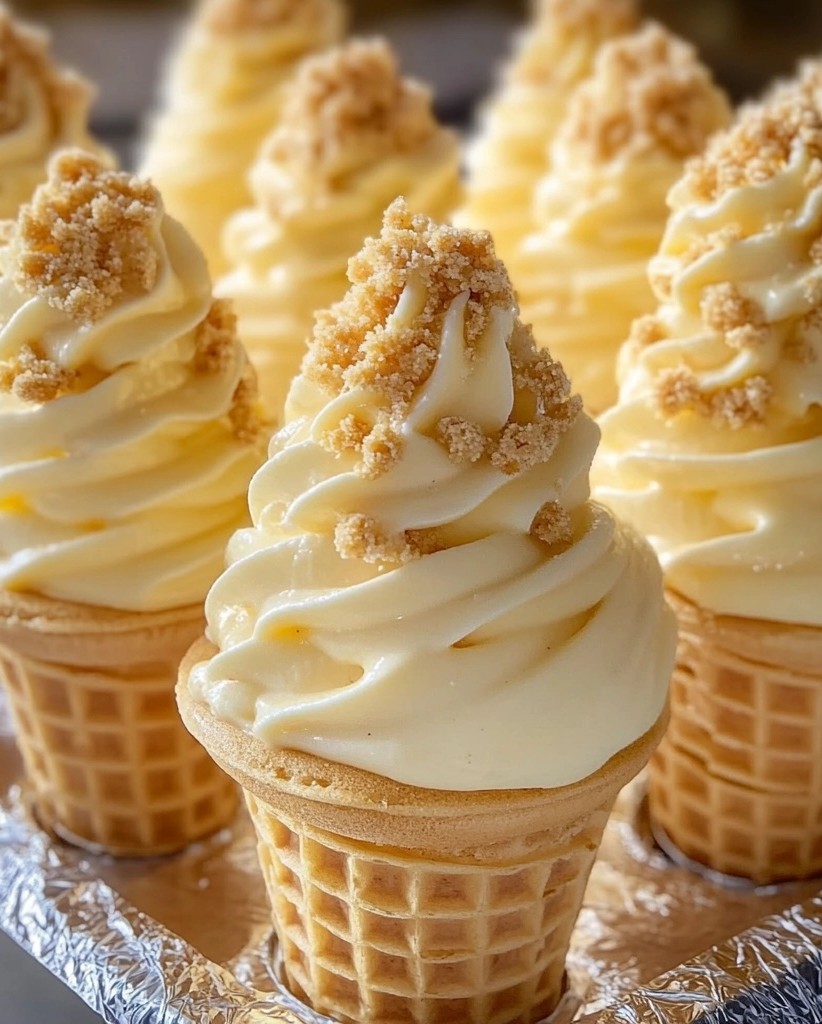
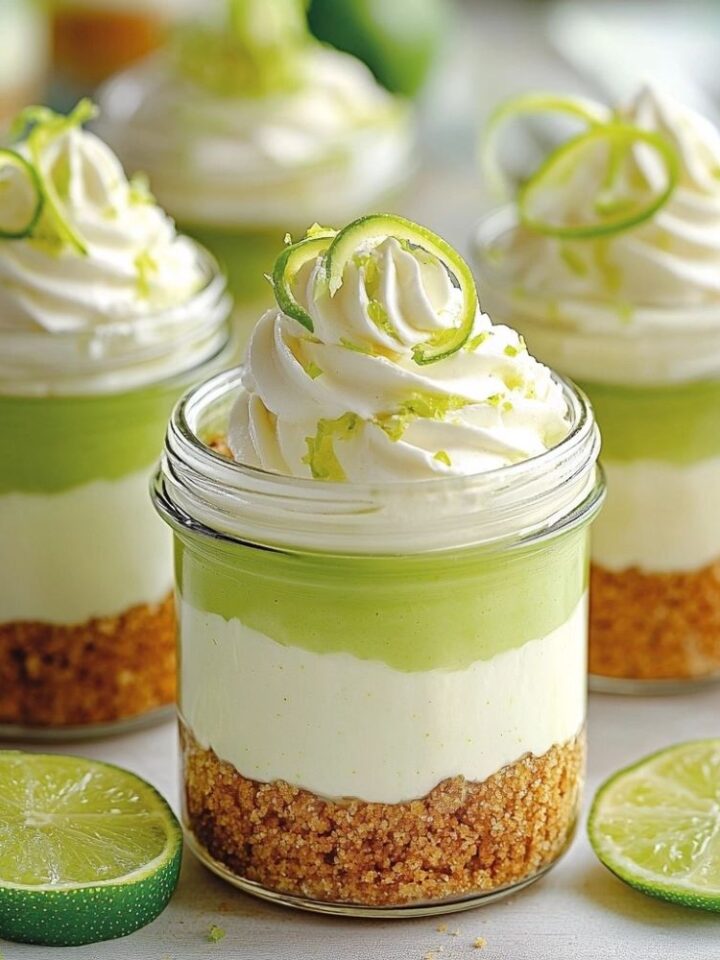
I’ve always been a fan of banana pudding and cheesecake, so why not combine the two into a fun, handheld treat? These Banana Pudding Cheesecake Cones are the perfect no-bake dessert that brings all the comforting flavors of a traditional banana pudding into a crispy waffle cone. They’re great for parties, quick to assemble, and oh-so-delicious with a drizzle of caramel on top. Whether you’re making these for a summer gathering or just want to satisfy your sweet tooth, these cones are sure to impress! Plus, they’re kid-friendly and super fun to eat—because who doesn’t love a dessert in a cone?
Why You'll Like It
- No-Bake & Quick – Ready in just a few steps with no oven required!
- Handheld Treat – Mess-free and easy to enjoy on the go.
- Rich & Creamy – The combination of banana pudding and cheesecake is pure heaven.
- Customizable – Add different toppings like crushed nuts, sprinkles, or even chocolate drizzle.
- Perfect for Parties – These cones make a unique and fun dessert for any occasion!
The Recipe
Ingredients
For the Cheesecake Filling:
- 8 oz cream cheese, softened
- ½ cup powdered sugar
- ½ teaspoon vanilla extract
- ½ cup heavy cream, whipped
For the Banana Pudding Layer:
- 1 box (3.4 oz) instant banana pudding mix
- 1 ½ cups cold milk
- 1 banana, sliced
For Assembly:
- 6 waffle cones
- ½ cup crushed vanilla wafers
- Whipped cream (for topping)
- Caramel drizzle (optional)
- Extra vanilla wafers and banana slices for garnish
Step-by-Step Instructions
1️⃣ Make the Cheesecake Filling
In a mixing bowl, beat the softened cream cheese, powdered sugar, and vanilla extract until smooth and creamy. In a separate bowl, whip the heavy cream until stiff peaks form, then gently fold it into the cream cheese mixture. Set aside.
2️⃣ Prepare the Banana Pudding
In another bowl, whisk the instant banana pudding mix with cold milk for about 2 minutes until it thickens. Let it sit for a few minutes to set properly.
3️⃣ Assemble the Cones
- Take each waffle cone and add a spoonful of crushed vanilla wafers at the bottom (this helps soak up extra moisture).
- Spoon or pipe a layer of cheesecake filling into the cone.
- Add a few banana slices on top.
- Spoon in some banana pudding, filling the cone almost to the top.
- Repeat layers if desired for a fuller cone.
4️⃣ Garnish and Serve
- Top each cone with a swirl of whipped cream.
- Sprinkle extra crushed vanilla wafers on top.
- Drizzle with caramel for added decadence.
- Garnish with a banana slice and a whole vanilla wafer on the side.
Enjoy immediately or refrigerate for a slightly firmer texture!
Serving and Storage Tips
- Serving: These cones are best enjoyed fresh! Serve them chilled for a refreshing treat.
- Storage: Store the filling separately in the fridge for up to 2 days and assemble the cones just before serving to prevent sogginess.
- Make-Ahead Tip: If making ahead for a party, prepare the cheesecake filling and banana pudding in advance, then assemble right before serving.
Helpful Notes
- Crispier Cones: To keep waffle cones from getting soggy, brush the inside with melted chocolate and let it harden before filling.
- Flavor Boost: Try adding a little cinnamon or nutmeg to the crushed vanilla wafers for extra flavor.
- Alternate Toppings: Crushed nuts, sprinkles, white chocolate drizzle, or even mini chocolate chips can be fun additions!
- No Waffle Cones? Use mini dessert cups instead!
Frequently Asked Questions
1. Can I use homemade banana pudding instead of instant?
Yes! If you prefer homemade banana pudding, go for it. Just make sure it’s chilled and thick before layering.
2. Can I make these cones ahead of time?
You can prepare the fillings in advance, but it’s best to assemble the cones just before serving to keep them from getting soggy.
3. Can I use graham crackers instead of vanilla wafers?
Absolutely! Crushed graham crackers add a similar sweet crunch.
4. How do I make the cones extra stable?
Wrap the bottoms in foil or cupcake liners to help them stand upright when serving.
5. Can I freeze these cheesecake cones?
Freezing is not recommended as the waffle cones may turn soft. However, you can freeze the cheesecake filling separately for later use.
Final Thoughts
These Banana Pudding Cheesecake Cones are a must-try if you love fun, easy-to-make desserts! With layers of creamy cheesecake, rich banana pudding, and crunchy waffle cones, they deliver a delightful mix of textures and flavors in every bite. They’re perfect for birthdays, summer BBQs, or anytime you want a quick and delicious treat. Get creative with the toppings, and enjoy this dreamy handheld dessert with friends and family!

Banana Pudding Cheesecake Cones
Ingredients
For the Cheesecake Filling:
- 8 oz cream cheese softened
- ½ cup powdered sugar
- ½ teaspoon vanilla extract
- ½ cup heavy cream whipped
For the Banana Pudding Layer:
- 1 box 3.4 oz instant banana pudding mix
- 1 ½ cups cold milk
- 1 banana sliced
For Assembly:
- 6 waffle cones
- ½ cup crushed vanilla wafers
- Whipped cream for topping
- Caramel drizzle optional
- Extra vanilla wafers and banana slices for garnish
Instructions
1️⃣ Make the Cheesecake Filling
- In a mixing bowl, beat the softened cream cheese, powdered sugar, and vanilla extract until smooth and creamy. In a separate bowl, whip the heavy cream until stiff peaks form, then gently fold it into the cream cheese mixture. Set aside.
2️⃣ Prepare the Banana Pudding
- In another bowl, whisk the instant banana pudding mix with cold milk for about 2 minutes until it thickens. Let it sit for a few minutes to set properly.
3️⃣ Assemble the Cones
- Take each waffle cone and add a spoonful of crushed vanilla wafers at the bottom (this helps soak up extra moisture).
- Spoon or pipe a layer of cheesecake filling into the cone.
- Add a few banana slices on top.
- Spoon in some banana pudding, filling the cone almost to the top.
- Repeat layers if desired for a fuller cone.
4️⃣ Garnish and Serve
- Top each cone with a swirl of whipped cream.
- Sprinkle extra crushed vanilla wafers on top.
- Drizzle with caramel for added decadence.
- Garnish with a banana slice and a whole vanilla wafer on the side.
Notes
- Crispier Cones: To keep waffle cones from getting soggy, brush the inside with melted chocolate and let it harden before filling.
- Flavor Boost: Try adding a little cinnamon or nutmeg to the crushed vanilla wafers for extra flavor.
- Alternate Toppings: Crushed nuts, sprinkles, white chocolate drizzle, or even mini chocolate chips can be fun additions!
- No Waffle Cones? Use mini dessert cups instead!

