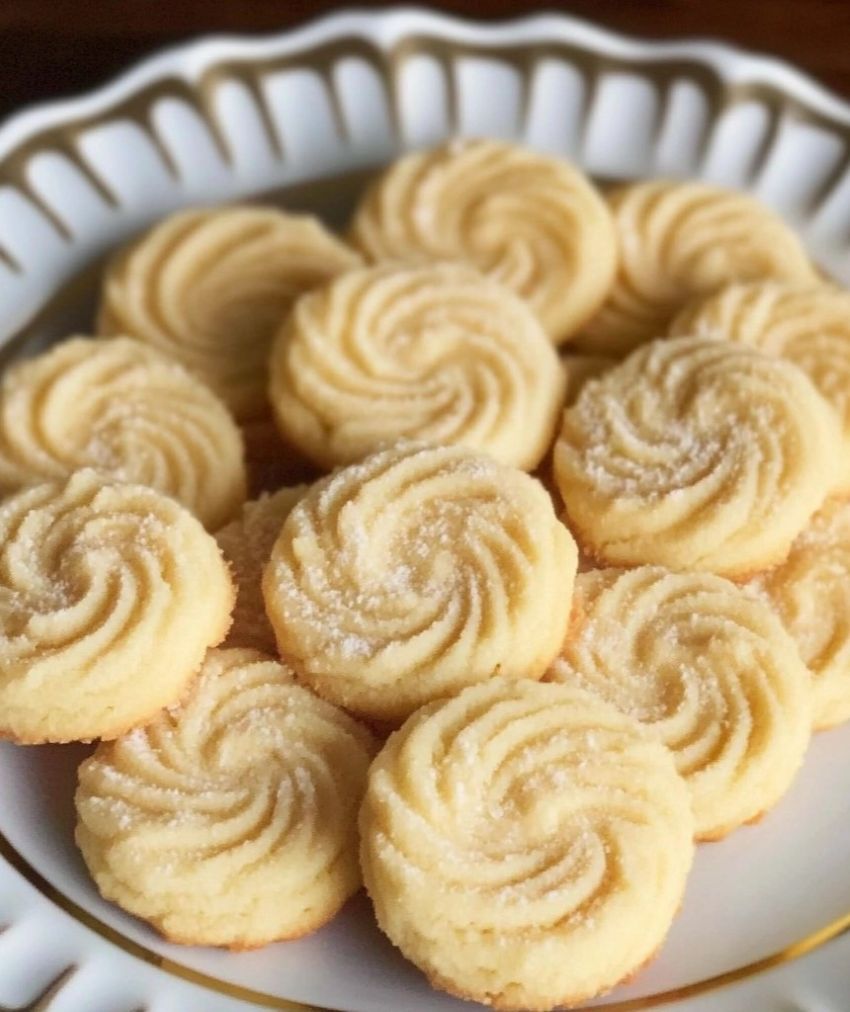
Sometimes the simplest recipes create the most delightful treats, and these 3-Ingredient Butter Cookies are proof of that! With just butter, powdered sugar, and flour, these cookies are buttery, melt-in-your-mouth delicious, and perfect for any occasion.
What I love most about this recipe is its versatility. You can enjoy these cookies as they are or elevate them with a touch of vanilla extract, a pinch of salt, or even a drizzle of melted chocolate. Whether you’re a seasoned baker or a beginner, this recipe is easy, quick, and guaranteed to impress.
Why You’ll Love This Recipe
- Minimal ingredients: Just 3 pantry staples!
- Quick and easy: Ready in under 30 minutes.
- Customizable: Add flavors, toppings, or shapes to make them your own.
- Perfect texture: Buttery and crumbly, they melt in your mouth.
- Great for any occasion: From tea time to holiday gifting, these cookies are always a hit.
Recipe
Ingredients
- 1 cup butter, softened and slightly melted
- 1 cup powdered sugar
- 2 cups all-purpose flour
Directions
- Preheat the Oven:
- Preheat your oven to 350°F (175°C).
- Line two baking sheets with parchment paper for easy cleanup.
- Make the Dough:
- In a large mixing bowl, beat the softened butter and powdered sugar together until smooth and fluffy (about 2–3 minutes).
- Gradually add the flour, mixing until a soft dough forms. The dough should be smooth and pliable, not sticky.
- Shape the Cookies:
- Roll the dough into small balls, about 1 inch in diameter.
- Place the dough balls on the prepared baking sheets, spacing them about 2 inches apart.
- Flatten each ball slightly with the back of a fork to create a crisscross pattern or use the bottom of a glass for a smooth, decorative look.
- Bake:
- Bake the cookies for 10–12 minutes, or until the edges are just lightly golden. Be careful not to overbake, as these cookies are meant to remain light in color.
- Remove the cookies from the oven and let them cool on the baking sheets for 5 minutes, then transfer them to a wire rack to cool completely.
Serving and Storage Tips
- Serving Suggestions: Pair these cookies with a cup of tea, coffee, or a glass of milk for a classic treat.
- Storage: Store the cookies in an airtight container at room temperature for up to 1 week.
- Freezing Option: Freeze unbaked dough balls for up to 3 months. Bake directly from frozen, adding 1–2 minutes to the baking time.
Helpful Notes
- Softened Butter: Ensure your butter is softened but not fully melted. If it’s too melted, the cookies may spread too much during baking.
- Extra Flavor: Add 1 teaspoon of vanilla extract or a pinch of salt to enhance the flavor of the cookies.
- Shapes and Patterns: Use cookie cutters to make festive shapes, or roll the edges of the dough balls in colored sugar for a decorative touch.
- For Crispier Cookies: Flatten the dough balls slightly thinner and bake for an additional 1–2 minutes.
- Add Toppings: Drizzle the cooled cookies with melted chocolate or sprinkle with powdered sugar for extra flair.
Frequently Asked Questions
- Can I make these cookies gluten-free?
Yes! Substitute the all-purpose flour with a 1:1 gluten-free flour blend for a gluten-free version. - What if I don’t have powdered sugar?
You can make your own by blending granulated sugar in a food processor until fine. - Can I add chocolate chips or nuts?
Absolutely! Fold in ¼ cup of mini chocolate chips or finely chopped nuts for added texture. - How do I prevent the cookies from spreading too much?
Make sure the butter is softened, not fully melted, and chill the dough for 15–20 minutes before baking if your kitchen is warm. - Can I double the recipe?
Yes! This recipe doubles beautifully for larger batches.
Final Thoughts
These 3-Ingredient Butter Cookies are the ultimate proof that simplicity can be delicious. With minimal effort and basic pantry staples, you can create a buttery, crumbly cookie that’s perfect for any occasion.
What’s even better is how versatile this recipe is. Whether you keep them classic, add your favorite flavors, or decorate them for a special event, these cookies are guaranteed to become a go-to favorite.
So grab your ingredients, preheat your oven, and bake a batch of these delightful cookies. You’ll be amazed at how something so simple can taste so good. Happy baking!

3-Ingredient Butter Cookies
Ingredients
- 1 cup butter softened and slightly melted
- 1 cup powdered sugar
- 2 cups all-purpose flour
Instructions
Preheat the Oven:
- Preheat your oven to 350°F (175°C).
- Line two baking sheets with parchment paper for easy cleanup.
Make the Dough:
- In a large mixing bowl, beat the softened butter and powdered sugar together until smooth and fluffy (about 2–3 minutes).
- Gradually add the flour, mixing until a soft dough forms. The dough should be smooth and pliable, not sticky.
Shape the Cookies:
- Roll the dough into small balls, about 1 inch in diameter.
- Place the dough balls on the prepared baking sheets, spacing them about 2 inches apart.
- Flatten each ball slightly with the back of a fork to create a crisscross pattern or use the bottom of a glass for a smooth, decorative look.
Bake:
- Bake the cookies for 10–12 minutes, or until the edges are just lightly golden. Be careful not to overbake, as these cookies are meant to remain light in color.
- Remove the cookies from the oven and let them cool on the baking sheets for 5 minutes, then transfer them to a wire rack to cool completely.
Notes
- Softened Butter: Ensure your butter is softened but not fully melted. If it’s too melted, the cookies may spread too much during baking.
- Extra Flavor: Add 1 teaspoon of vanilla extract or a pinch of salt to enhance the flavor of the cookies.
- Shapes and Patterns: Use cookie cutters to make festive shapes, or roll the edges of the dough balls in colored sugar for a decorative touch.
- For Crispier Cookies: Flatten the dough balls slightly thinner and bake for an additional 1–2 minutes.
- Add Toppings: Drizzle the cooled cookies with melted chocolate or sprinkle with powdered sugar for extra flair.

