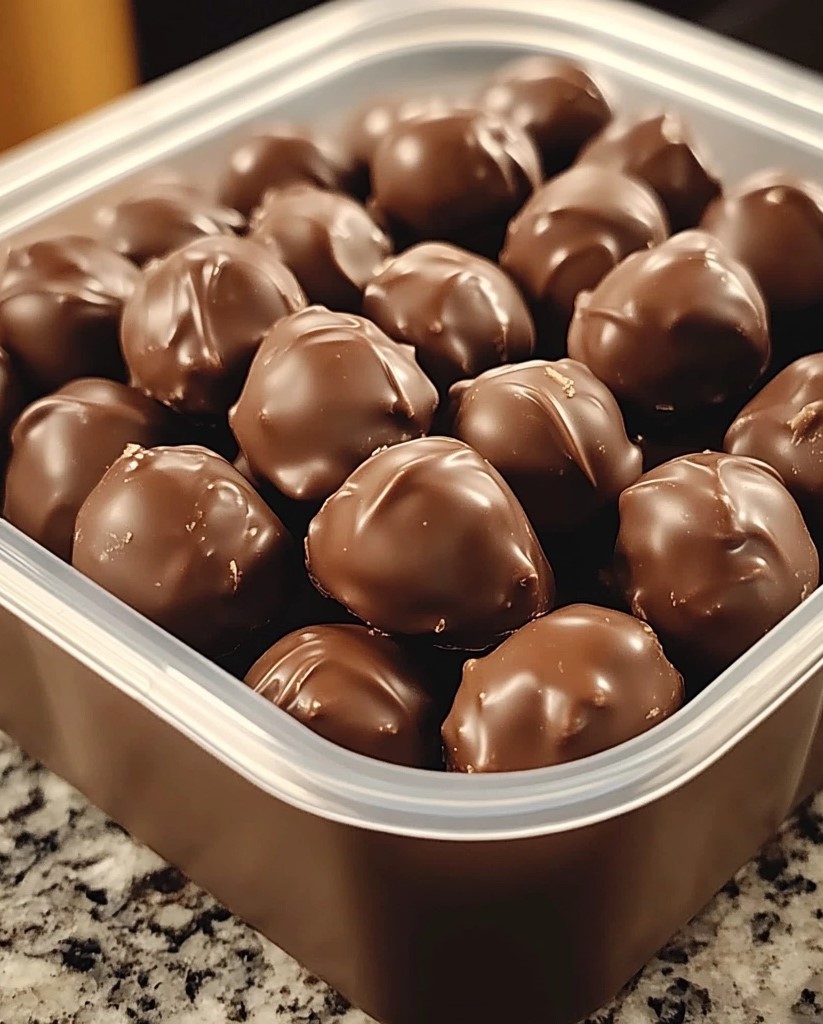
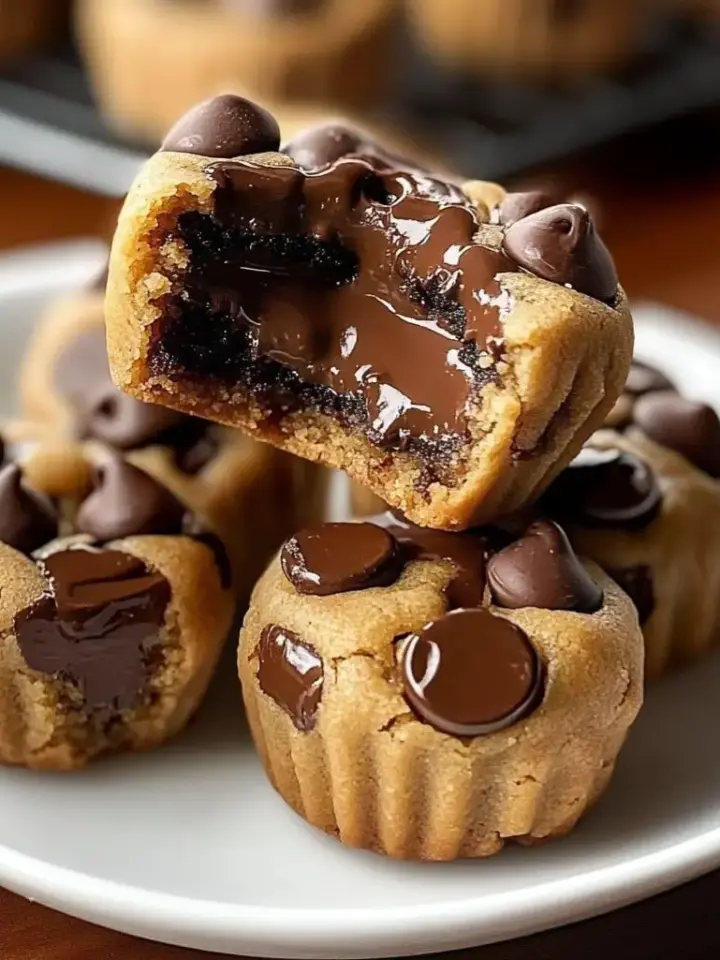
No-bake peanut butter balls are one of my favorite treats to make, especially during the holidays or when I need a quick dessert for gatherings. I remember making these with my family growing up—they’re simple, delicious, and always a crowd-pleaser. The rich peanut butter filling wrapped in a smooth chocolate coating is pure bliss, and the best part? No oven required!
This recipe is perfect for both experienced bakers and beginners because it requires minimal effort but delivers maximum flavor. Whether you’re preparing these for a party, gifting them, or just satisfying a sweet craving, these peanut butter balls are guaranteed to hit the spot. Let’s get started!
Why You’ll Love This Recipe
- No baking required: Easy and quick to prepare.
- Rich and creamy: Smooth peanut butter filling with a decadent chocolate shell.
- Perfect for holidays and gifts: Great for festive trays or edible presents.
- Customizable: Add toppings or fillings for extra flavor and texture.
- Make-ahead friendly: Store in the fridge or freezer for later enjoyment.
Recipe
Ingredients
For the Peanut Butter Mixture:
- 1 ½ cups creamy peanut butter
- ½ cup unsalted butter, softened
- 1 teaspoon vanilla extract
- 3 cups powdered sugar
For the Chocolate Coating:
- 2 cups semi-sweet chocolate chips
- 2 teaspoons coconut oil or shortening (optional, for smoother melting)
Directions
- Make the Peanut Butter Filling:
- In a large mixing bowl, beat together the peanut butter, softened butter, and vanilla extract until smooth and creamy.
- Gradually add the powdered sugar, mixing until a thick, dough-like consistency forms.
- Shape the Balls:
- Roll tablespoon-sized portions of the peanut butter mixture into balls and place them on a parchment-lined baking sheet.
- Refrigerate the balls for at least 30 minutes, or until firm.
- Melt the Chocolate Coating:
- In a microwave-safe bowl, combine the chocolate chips and coconut oil (if using). Microwave in 30-second intervals, stirring after each interval, until the chocolate is completely smooth and melted.
- Dip the Peanut Butter Balls:
- Using a fork or dipping tool, dip each peanut butter ball into the melted chocolate, allowing any excess chocolate to drip off.
- Place the coated balls back onto the parchment-lined baking sheet.
- Chill and Set:
- Refrigerate the coated peanut butter balls for 20-30 minutes, or until the chocolate is fully set.
- Serve and Enjoy:
- Transfer to a serving dish or store in an airtight container.
Serving and Storage Tips
- Serving: Serve these peanut butter balls chilled or at room temperature for a creamy texture.
- Storage: Store in an airtight container in the refrigerator for up to 1 week.
- Freezing Option: Freeze the balls in a single layer, then transfer to a freezer bag for up to 3 months. Thaw in the fridge before serving.
Helpful Notes
- For a crunchy variation, mix in crushed pretzels, rice cereal, or chopped nuts into the peanut butter filling.
- Add a decorative touch by drizzling white chocolate over the finished peanut butter balls or sprinkling crushed peanuts on top.
FAQs
- Can I use crunchy peanut butter instead of creamy?
Absolutely! Crunchy peanut butter adds texture and works just as well as creamy. - What can I use instead of coconut oil for melting the chocolate?
You can use shortening, vegetable oil, or even butter for a smoother chocolate coating. - How can I prevent the chocolate from clumping when melting?
Stir frequently and microwave in short intervals. Adding coconut oil or shortening also helps keep it silky smooth. - Can I make these ahead of time?
Yes, these are perfect for making ahead. They store well in the fridge or freezer, making them great for holiday prep. - What if my peanut butter dough is too sticky?
Add more powdered sugar, a tablespoon at a time, until the dough is firm enough to roll into balls.
Final Thoughts
These No-Bake Peanut Butter Balls are the perfect treat for any occasion, whether it’s the holidays, a birthday party, or just a snack to have on hand. Their rich peanut butter filling and smooth chocolate coating make them an irresistible combination that’s always a hit. I love how easy they are to prepare, and they’re great for gifting or serving at gatherings.
Make a batch today, and you’ll quickly see why these little bites of heaven are so popular. With just a few simple ingredients and no baking required, you’ll have a dessert that everyone will rave about. Enjoy!

No-Bake Peanut Butter Balls
Ingredients
For the Peanut Butter Mixture:
- 1 ½ cups creamy peanut butter
- ½ cup unsalted butter softened
- 1 teaspoon vanilla extract
- 3 cups powdered sugar
For the Chocolate Coating:
- 2 cups semi-sweet chocolate chips
- 2 teaspoons coconut oil or shortening optional, for smoother melting
Instructions
Make the Peanut Butter Filling:
- In a large mixing bowl, beat together the peanut butter, softened butter, and vanilla extract until smooth and creamy.
- Gradually add the powdered sugar, mixing until a thick, dough-like consistency forms.
Shape the Balls:
- Roll tablespoon-sized portions of the peanut butter mixture into balls and place them on a parchment-lined baking sheet.
- Refrigerate the balls for at least 30 minutes, or until firm.
Melt the Chocolate Coating:
- In a microwave-safe bowl, combine the chocolate chips and coconut oil (if using). Microwave in 30-second intervals, stirring after each interval, until the chocolate is completely smooth and melted.
Dip the Peanut Butter Balls:
- Using a fork or dipping tool, dip each peanut butter ball into the melted chocolate, allowing any excess chocolate to drip off.
- Place the coated balls back onto the parchment-lined baking sheet.
Chill and Set:
- Refrigerate the coated peanut butter balls for 20-30 minutes, or until the chocolate is fully set.
Serve and Enjoy:
- Transfer to a serving dish or store in an airtight container.
Notes
- For a crunchy variation, mix in crushed pretzels, rice cereal, or chopped nuts into the peanut butter filling.
- Add a decorative touch by drizzling white chocolate over the finished peanut butter balls or sprinkling crushed peanuts on top.

